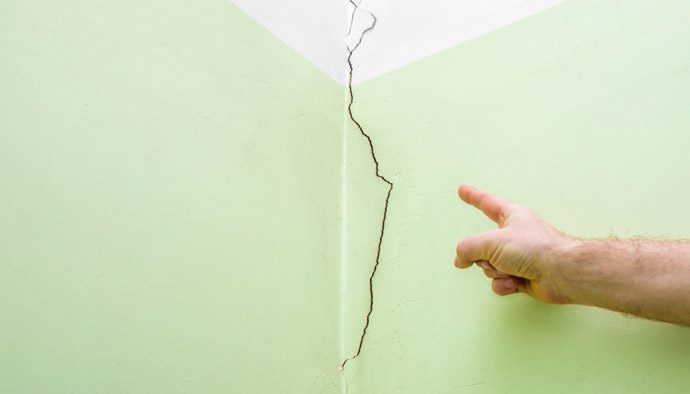
Cracked tiles can be a common problem in many households, detracting from the overall appearance of your tiled surfaces and potentially compromising their functionality. While larger cracks may require professional attention, hairline cracks can often be repaired with a bit of DIY know-how. In this comprehensive guide, we’ll dive into the step-by-step process of fixing a hairline crack in tile, providing you with the knowledge and techniques to restore your tiled surfaces to their former glory.

Image: handyworkshop.com
Understanding Hairline Cracks in Tile
Hairline cracks, as their name suggests, are thin fissures in the surface of a tile, often barely visible to the naked eye. They can occur due to various factors, including improper installation, thermal stress, or heavy impact. While hairline cracks may not seem like a major issue, they can allow moisture to penetrate the tile and underlying substrate, leading to further damage and mold growth over time.
Materials and Tools You’ll Need
Before embarking on your crack repair mission, gather the necessary materials and tools to ensure a seamless process:
- Epoxy or caulk: Specifically designed for tile repair, these products provide a durable and waterproof seal.
- Grout saw or sharp knife: Used for removing loose grout around the crack.
- Syringe or caulking gun: For applying the epoxy or caulk with precision.
- Sponge or damp cloth: For cleaning the repair area.
- Masking tape: Optional, for protecting the surrounding tiles from any adhesive residue.
- Gloves: For handling epoxy or caulk without direct contact.
Step-by-Step Repair Process
With your materials and tools at hand, let’s delve into the step-by-step process of fixing a hairline crack in tile:
-
Clean the Crack: Prepare the repair area by thoroughly cleaning the hairline crack with a damp sponge or cloth. Allow the area to dry completely before proceeding.
-
Remove Loose Grout: If there’s any loose grout around the crack, carefully remove it using a grout saw or a sharp knife. This will create a clean surface for the epoxy or caulk to adhere to.
-
Apply Masking Tape (Optional): To protect the surrounding tiles from any epoxy or caulk residue, you can apply masking tape around the immediate area of the crack.
-
Apply Epoxy or Caulk: Load the epoxy into the syringe or caulk into the caulking gun. Carefully apply the product into the hairline crack, filling it completely. Avoid overfilling or getting any adhesive on the surrounding tiles.
-
Allow to Dry: Refer to the manufacturer’s instructions for the specific epoxy or caulk you’re using. Generally, it takes a few hours to several days for the adhesive to cure completely.
-
Smooth the Surface: Once the epoxy or caulk has dried sufficiently, use your finger or a damp sponge to gently smooth out the surface, ensuring it blends seamlessly with the surrounding tiles.
-
Remove Masking Tape: If you used masking tape, carefully remove it to prevent any adhesive residue from sticking to the tiles.
-
Clean Up and Buff: Wipe away any excess adhesive from the surface of the tile and surrounding areas. To enhance the polished look, you can gently buff the repaired spot with a clean cloth.

Image: www.pinterest.de
Additional Tips for Success
-
Choose the Right Adhesive: Opt for an epoxy or caulk specifically designed for tile repair and suitable for the type of tile you have (ceramic, porcelain, etc.).
-
Match the Grout Color: If the hairline crack extends into the grout lines, you can mix a small batch of epoxy or caulk that matches the color of your existing grout. Fill the cracked grout line to seal it effectively.
-
Prevent Future Cracks: To minimize the risk of future hairline cracks, consider using a high-quality grout sealer to protect the grout from moisture and staining.
-
If in Doubt, Seek Professional Help: For larger or more complex cracks, it’s advisable to consult with a professional tile installer who can assess the damage and recommend the appropriate repair solution.
How To Fix A Hairline Crack In Tile
Conclusion
Fixing a hairline crack in tile is a manageable DIY task with the right materials, techniques, and patience. By following the steps outlined in this guide, you can restore the aesthetic appeal and functionality of your tiled surfaces, giving them a renewed lease on life. Remember, taking the time to properly repair hairline cracks can help prevent further damage and ensure the longevity of your tiled surfaces for years to come.