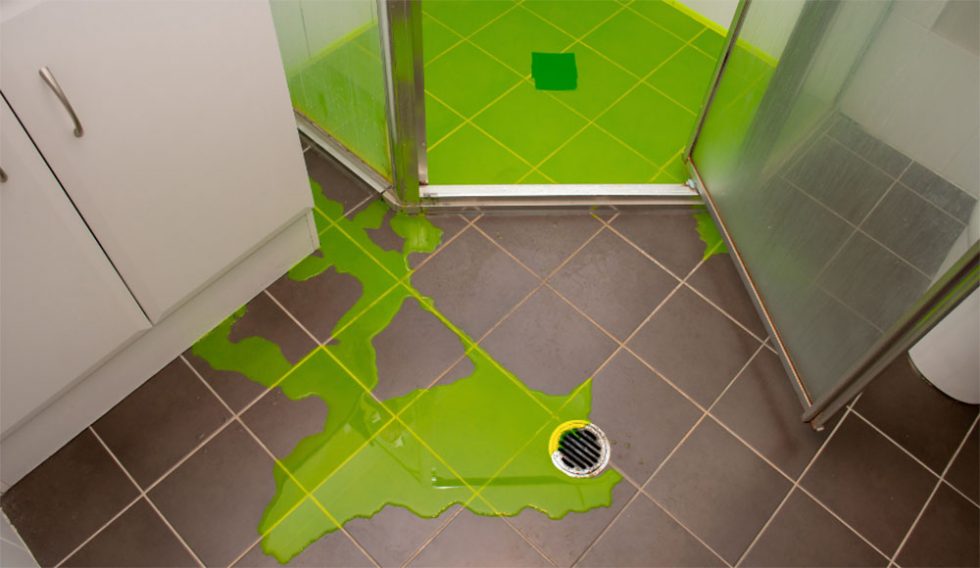
“Pitter-patter,” goes the annoying drip, drip, drip of a leaky shower drain pipe. It might be an irritating symphony, but it’s one that can waste hundreds of gallons of water per year and lead to costly bathroom damage. If you’re tired of the constant dripping and its potential consequences, it’s time to take matters into your own hands and fix the culprit – your leaking shower drain pipe.

Image: showermaestro.com
This practical guide will lead you through the process of identifying the source of the leak, gathering the necessary tools, and performing the repair with detailed step-by-step instructions. Whether you’re a seasoned DIY enthusiast or a first-time plumbing adventurer, we’ll empower you with the knowledge and confidence to tackle this common household issue.
Pinpointing the Leak: A Detective’s Guide to Shower Drain Pipes
To effectively remedy a leaky shower drain pipe, it is crucial to identify the precise origin of the leak. This detective work involves a meticulous inspection of the following potential culprits:
- The Drain Stopper: Often overlooked as a suspect, the drain stopper can develop cracks or become loose, allowing water to seep through.
- The Drain Grate: The grate, located at the top of the drainpipe, may have become loose, shifted, or corroded, providing an escape route for water.
- The Drainpipe Connection: The joint or seal where the drainpipe connects to the drain may have weakened or become damaged, leading to leaks.
- The P-Trap: This U-shaped pipe located beneath the drainpipe can accumulate hair, soap scum, and debris, creating a blockage that forces water to leak out.
- The Wall Drain: In some cases, the source of the leak may lie in the wall drain. This requires a bit more investigation and may involve removing the showerhead or accessing the drain from behind the wall.
Tools of the Trade: Arming Your Plumbing Toolkit
With the leak’s whereabouts identified, it’s time to assemble your plumbing arsenal. For this mission, you’ll need:
- Adjustable Wrench: A trusty sidekick for tightening and loosening nuts and bolts.
- Plumber’s Putty: A moldable sealant used to form a watertight seal around drain connections.
- Teflon Tape: A thin, self-adhering tape used for sealing threaded connections.
- Drain Snake or Plunger: To clear any clogs in the P-trap or drain line.
- Bucket or Basin: For catching any water that may spill during the repair.
- Safety Gloves and Goggles: To protect yourself from potential water splashes.
Step-by-Step Repair Guide: Banishing the Leak
Now that you have your tools at the ready, let’s dive into the step-by-step repair process:
Step 1: Shut Off the Water Supply
Safety first! Locate the water supply valves beneath the sink or in a nearby utility closet and turn them off to prevent water from flowing into the shower.
Step 2: Remove the Drain Grate
Using a screwdriver or your fingers, carefully remove the drain grate. You may need to apply some force if it’s stuck.
Step 3: Inspect the Drain Stopper and Grate
Check the drain stopper for any cracks or damage. If necessary, replace the stopper or tighten it securely. Inspect the drain grate for any looseness or corrosion and tighten or replace as needed.
Step 4: Tighten the Drainpipe Connection
Use the adjustable wrench to tighten the nuts or bolts that connect the drainpipe to the drain. Be careful not to overtighten as you could damage the threads.
Step 5: Unclog the P-Trap (Optional)
If the leak persists, the P-trap may be clogged. Use a drain snake or plunger to clear the blockage. Remove the P-trap if necessary, clean it thoroughly, and reinstall it.
Step 6: Seal the Drainpipe Connection with Plumber’s Putty
Apply a generous amount of plumber’s putty around the base of the drainpipe where it connects to the drain. Press the pipe firmly into place and smooth out any excess putty.
Step 7: Wrap the Drainpipe Threads with Teflon Tape
Wrap the threads of the drainpipe with Teflon tape in a clockwise direction. This will create a watertight seal when the pipe is screwed into the drain.
Step 8: Reattach the Drain Grate
Carefully place the drain grate back in place and secure it by hand or with a screwdriver.
Step 9: Turn On the Water Supply and Test
Slowly turn on the water supply and let the shower run for a few minutes. Check for any leaks around the drainpipe connection or other areas. If the leak persists, repeat the steps or consult a professional plumber.

Image: clementinecalais.blogspot.com
How To Fix A Leaking Shower Drain Pipe
The Satisfaction of a Leak-Free Shower: Reveling in Your Plumbing Prowess
With the leak extinguished, you can now bask in the symphony of silence and the satisfaction of a job well done. Your shower will once again be a haven of relaxation, free from the annoying drip that once plagued it. And the best part? You can take pride in the fact that you tackled the problem head-on and emerged victorious.
Remember, timely repairs not only eliminate annoying drips but also prevent costly damage and water waste. By knowing how to fix a leaking shower drain pipe, you’re empowered to maintain your bathroom’s functionality and longevity, ensuring that your showers remain a source of relaxation and rejuvenation for years to come.