The beauty of a well-maintained outdoor space can elevate the overall aesthetic of your home, providing a charming haven for relaxation and entertaining. Among the various elements that contribute to an alluring outdoor area, paver steps hold a significant place. They not only improve accessibility but also add a touch of sophistication to your landscape. However, with the passage of time and exposure to the elements, even the sturdiest paver steps may develop issues, compromising their stability and diminishing their visual appeal.

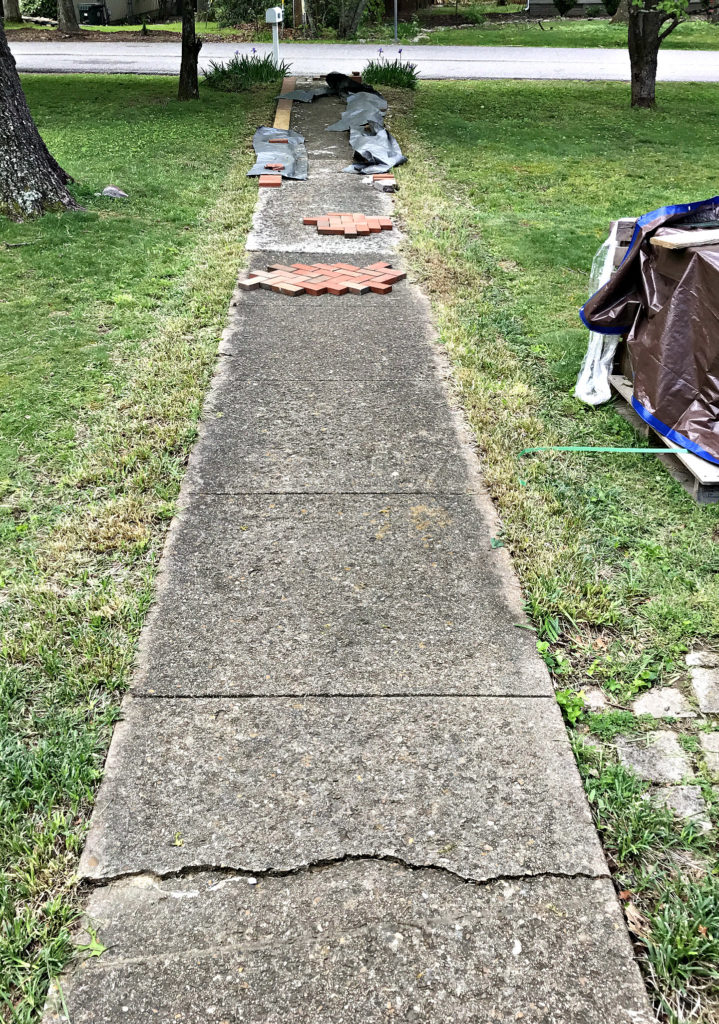
Image: www.nestofposies-blog.com
If you find yourself in a situation where your paver steps are in need of repair, fret not! This comprehensive guide will equip you with the knowledge and techniques to effectively fix paver steps, restoring their functionality and aesthetic value. With a keen eye for detail and a methodical approach, you can tackle this project confidently, transforming your wobbly steps into a solid and visually pleasing feature of your outdoor space.
1. Assess the Situation: Identify the Cause of the Problem
Before embarking on the repair process, it’s crucial to determine the underlying cause of the damaged paver steps. This step is essential for implementing the most appropriate repair strategy.
Common Causes of Paver Step Damage:
- Shifting Soil: Over time, the soil beneath pavers can shift due to factors such as erosion, water damage, or tree root growth, causing the pavers to become uneven or sink.
- Improper Installation: Poorly laid pavers with insufficient support or inadequate drainage can lead to movement and eventual damage.
- Erosion and Wear: Constant exposure to rain, wind, and foot traffic can erode the joints between pavers and weaken the overall structure.
- Freezing and Thawing Cycles: In cold climates, water trapped between pavers can freeze and expand, causing the pavers to crack or break.
- Damage from Heavy Objects: Dropping heavy items on pavers or subjecting them to excessive weight can result in chips, cracks, or breakage.
2. Gather the Necessary Materials and Tools
To ensure a successful repair, it’s imperative to have the right tools and materials at your disposal. Here’s a checklist of essentials:
- Paver stones (to replace damaged ones)
- Polymeric sand
- Tamper or hand tamp
- Edging restraints (optional)
- Safety glasses
- Gloves
- Measuring tape
- Level
- Rubber mallet
- Hand saw or angle grinder (for cutting pavers)
3. Remove the Damaged Pavers
Once you have diagnosed the cause and gathered the necessary materials, it’s time to carefully remove the damaged pavers. Follow these steps:
- Don safety glasses and gloves for protection.
- Identify the damaged pavers and use a pry bar or flathead screwdriver to gently lift them out of place.
- Remove any loose sand or debris from the underlying base.

Image: www.youtube.com
4. Prepare the Base for New Pavers
Before installing the new pavers, it’s crucial to prepare the base to ensure proper support and prevent future shifting.
- Compact the soil beneath the base using a tamper or hand tamp.
- Spread a layer of polymeric sand over the compacted soil and level it using a screed or straight board.
- If necessary, install edging restraints along the sides of the steps to prevent the pavers from shifting laterally.
5. Install the New Pavers
Now, it’s time to place the new pavers in their designated spots:
- Start by laying the pavers from the bottom step upwards.
- Position the pavers on the prepared base, ensuring they are level and evenly spaced.
- Use a rubber mallet to gently tap the pavers into place, ensuring they are firmly seated.
- Check the level of each paver using a level and adjust as needed.
6. Cut Pavers to Fit (if necessary)
In some cases, you may need to cut pavers to fit specific areas or create a custom shape. Here’s how:
- Measure the space where the paver needs to be cut.
- Mark the paver accordingly.
- Use a hand saw or angle grinder (with a diamond blade) to cut the paver to the desired size.
- Smooth any rough edges using a file or sandpaper.
7. Fill the Joints with Polymeric Sand
Once all the pavers are in place, fill the joints between them with polymeric sand to lock them together and prevent weeds from growing.
- Spread the polymeric sand over the pavers and use a broom to work it into the joints.
- Wet the sand with a light spray of water and allow it to set according to the manufacturer’s instructions.
8. Compact the Steps
After the polymeric sand has set, compact the steps to ensure stability and prevent shifting. Use a tamper or hand tamp to apply pressure to the pavers.
9. Clean and Seal the Pavers (Optional)
For a finishing touch, you can clean the pavers with a mild detergent and water to remove any residue or stains. To enhance the longevity of your repaired paver steps, consider applying a sealer specifically designed for outdoor pavers. Follow the manufacturer’s instructions for proper application.
How To Fix Paver Steps
Enjoy Your Restored Paver Steps
Congratulations! You have successfully repaired your paver steps, restoring their functionality and aesthetic appeal. Whether you’re welcoming guests, enjoying a relaxing evening outdoors, or simply admiring the beauty of your well-maintained landscape, the satisfaction of a job well done will undoubtedly enhance your outdoor experience.
Additional Tips for Paver Step Maintenance:
- Regularly check for loose or cracked pavers and address any issues promptly.
- Clear away debris, leaves, and dirt that can accumulate in joints and cause damage.
- Seal your pavers periodically (every 2-3 years) to protect them from staining and erosion.
- Avoid using harsh chemicals or cleaning agents that can damage the pavers.