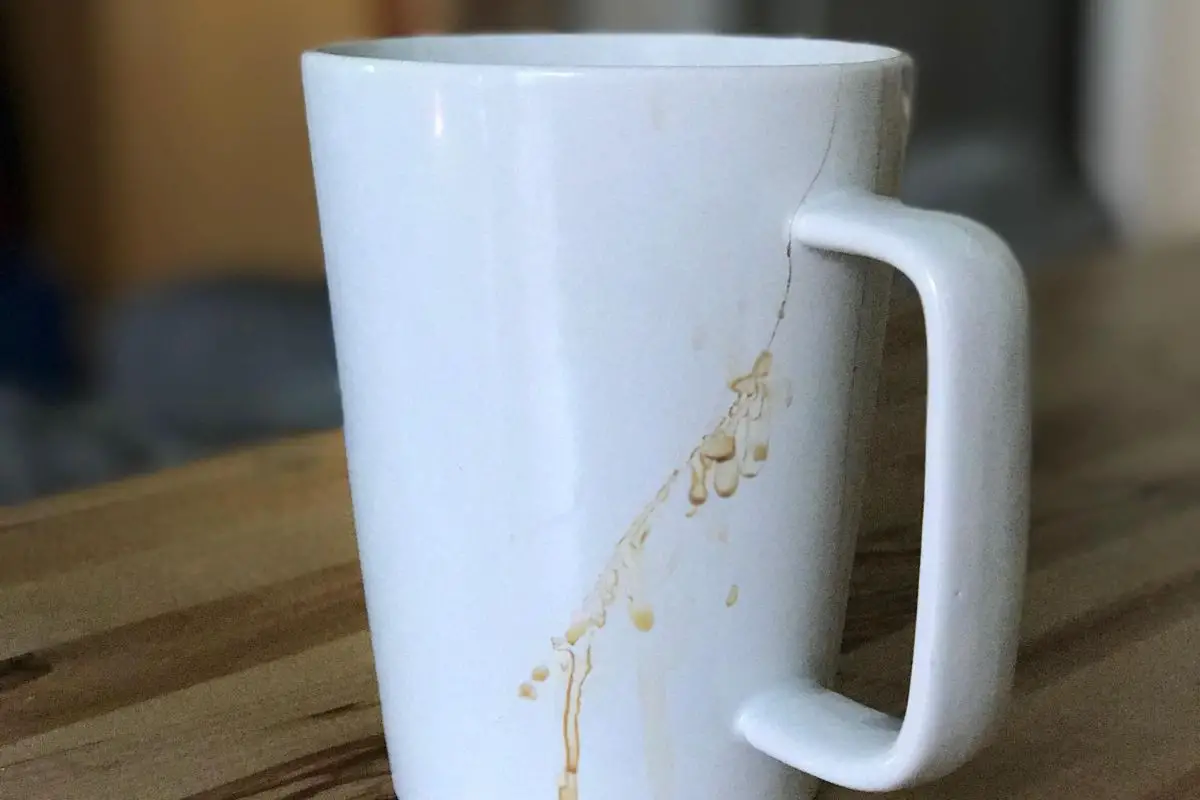
The shattered remains of your favorite coffee mug can be a heartbreaking sight. Yet, do not despair! With a touch of creativity and some basic supplies, you can bring your beloved mug back to life. In this comprehensive guide, we embark on a journey to unravel the secrets of coffee mug repair, empowering you with the knowledge to restore your precious vessel to its former glory.

Image: www.coffee-prices.com
The Anatomy of a Cracked Coffee Mug
A cracked coffee mug is often the result of an accidental encounter with a hard surface or thermal shock. Understanding the nature of the crack is crucial for determining the best repair method. Cracks can be categorized into two main types:
- Hairline Cracks: Thin, barely visible cracks that compromise the mug’s structural integrity but do not lead to immediate breakage.
- Deep Cracks: Larger, more apparent cracks that extend through the mug’s material, weakening it significantly.
Repairing Hairline Cracks
For hairline cracks, the focus is on sealing the break rather than strengthening it. The ideal solution lies in food-safe adhesives specifically designed for ceramic and porcelain. Follow these steps:
- Clean the Crack: Thoroughly wash and dry the mug to remove any dirt or debris.
- Apply Adhesive: Use a small brush or cotton swab to apply a thin layer of adhesive to both sides of the crack.
- Clamp and Cure: Secure the mug with clamps or rubber bands to bring the cracked edges together. Allow the adhesive to cure according to the manufacturer’s instructions.
Mending Deep Cracks
Deep cracks require a more robust repair approach, involving the use of epoxy or superglue. These adhesives not only seal the crack but also provide structural support. Here’s how:
- Clean and Prepare: Meticulously clean and dry the mug, then roughen the edges of the crack with sandpaper or a file.
- Mix Epoxy or Superglue: Following the instructions provided with the adhesive, mix the components thoroughly.
- Fill the Crack: Apply the mixed adhesive into the crack using a toothpick or syringe. Ensure complete filling without any air bubbles.
- Clamp and Cure: Clamp or weigh down the mug to maintain pressure on the crack while the adhesive cures.

Image: muselot.in
Additional Tips for Successful Repairs
- Use Food-Safe Adhesives: Always opt for adhesives certified as non-toxic and safe for contact with food.
- Test the Repair: Before using the repaired mug, conduct a leak test by filling it with water. If no leaks occur, your mug is ready to enjoy.
- Avoid Dishwasher Heat: Although the repaired mug may withstand hot liquids, it’s best to avoid subjecting it to the extreme heat of a dishwasher. Hand-washing is recommended.
- Be Patient: Allow ample time for the adhesives to cure completely. Insufficient curing can compromise the repair.
Embracing the Imperfections
Once your mug is successfully repaired, it may bear visible scars of its ordeal. However, these imperfections should be embraced as a testament to its resilience and the love that repaired it. A repaired mug with a story to tell can become even more cherished than its flawless predecessor.
How To Fix A Cracked Coffee Mug
https://youtube.com/watch?v=tvUoOqalw4I
Conclusion
Restoring a cracked coffee mug is not merely a matter of mending a broken object but an act of extending its usefulness and preserving its sentimental value. By following the steps outlined in this guide, you can bestow a second life upon your beloved mug, allowing it to once more grace your mornings with the warmth of your favorite brew. Remember, a repaired mug is not a sign of weakness, but a symbol of renewed strength and an enduring bond between you and your favorite companion.
Embark on this restorative journey today and experience the satisfaction of giving your shattered mug a new lease on life.