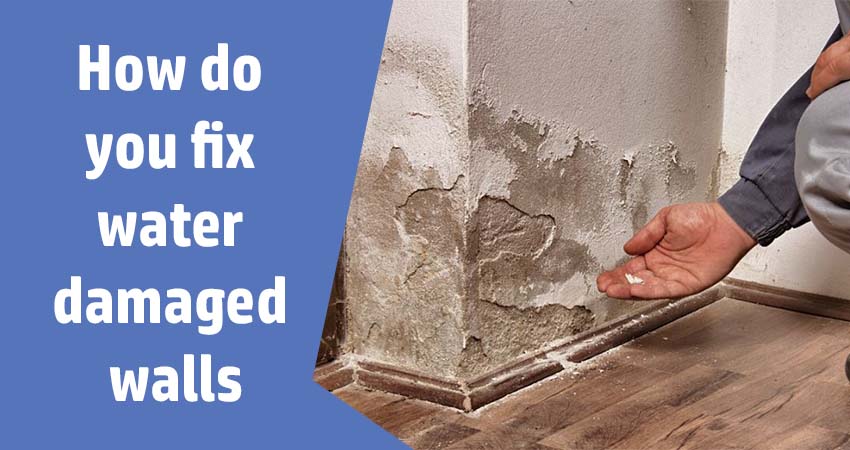
In the realm of home maintenance, few things strike terror into the hearts of homeowners like water damage. Whether it’s a leaky pipe, a burst hose, or the aftermath of a natural disaster, water can wreak havoc on your walls, leaving you with unsightly stains, compromised structural integrity, and a nagging sense of unease. But don’t despair! With the right knowledge and tools, you can restore your water damaged wall to its former glory.

Image: hopemyworlds.com
Understanding Water Damage: The Enemy Within
First and foremost, it’s crucial to understand the nature of water damage. Water can penetrate deep into building materials, such as drywall, plaster, and wood, causing a range of issues. These may include:
- Stains and discoloration
- Warping and buckling
- Weakening of structural components
- Mold growth
The type of damage depends on several factors, including the severity of the leak, the duration of exposure, and the materials affected. Regardless of the cause, it’s imperative to address water damage promptly to prevent it from spreading and causing further destruction.
The Fixer-Upper’s Guide: Step-by-Step Wall Restoration
-
Assess the Damage: Safety first! Turn off the water source and ventilate the area thoroughly. Remove any furniture or valuables from the vicinity. Now, take a close look at the damage. Identify the affected area, type of materials, and extent of penetration.
-
Remove Water and Dry the Wall: Using towels, sponges, or a vacuum, remove as much water as possible. Then, set up fans or a dehumidifier to dry the wall thoroughly. Ensure proper ventilation by opening windows and doors.
-
Repair or Replace Damaged Drywall: If the drywall is severely damaged or buckled, it will need to be replaced. Cut out the affected area and insert a new piece of drywall. Feather the edges and apply joint compound for a smooth finish.
-
Fix Rotted Wood: Inspect wooden studs or framing for any rot or damage. Remove and replace any rotted wood with new pieces. Treat the new wood with a water-resistant sealant to prevent future decay.
-
Control Mold: Mold thrives in damp environments, so it’s essential to address any mold growth promptly. Scrub the affected area with a mold-killing solution and let it dry completely. Apply a mold-resistant sealant to prevent regrowth.
-
Repaint or Refinish: Once the wall is dried, repaired, and free of mold, it’s time for the final touch. Paint or refinish the wall to match the surrounding areas. Choose paint or sealant with moisture-resistant properties to prevent future water damage.
Additional Tips for a Picture-Perfect Repair
- Use Proper Ventilation Techniques: Ensure adequate airflow during the drying process to prevent moisture buildup and mold growth.
- Be Patient with Drying: Drying the wall thoroughly can take time. Don’t rush the process as it may compromise the integrity of the repair.
- Consider Professional Help: If the water damage is extensive or affects structural components, it’s wise to seek assistance from a professional contractor.
Conclusion
Fixing a water damaged wall is an undertaking that requires patience, meticulousness, and the right knowledge. By following these steps, you can restore your wall to its former beauty and functionality, ensuring a comfortable and healthy home for years to come. Remember, proper maintenance and prompt action can prevent water damage from turning into a costly nightmare.

Image: www.youtube.com
How To Fix Water Damaged Wall