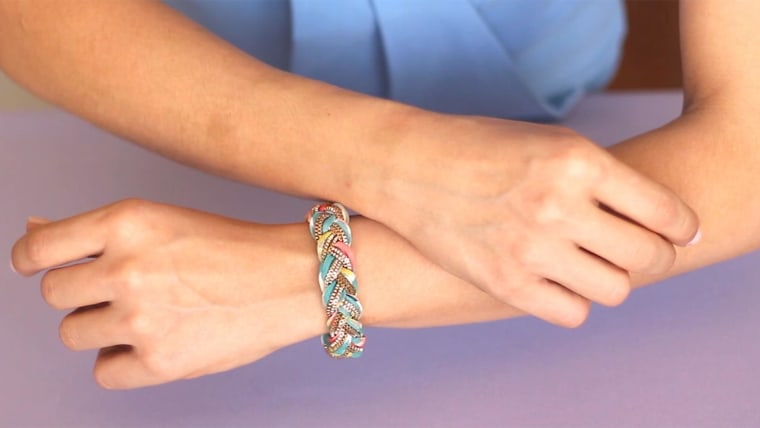
Bracelets, those timeless adornments that grace our wrists, not only enhance our style but also hold sentimental value. However, even the sturdiest bracelets are not immune to occasional mishaps that can leave us wondering how to fix a bracelet. Whether it’s a delicate chain that has snapped or a clasp that refuses to cooperate, fear not! This comprehensive guide will empower you with the knowledge and techniques to restore your beloved bracelets to their former glory.

Image: www.today.com
Before we delve into the specifics, let’s address some fundamental questions that may arise. First, is it possible to fix a broken bracelet? Absolutely! With the right tools and approach, most bracelets can be repaired, saving you the cost of replacement and preserving cherished memories. Secondly, can we fix a bracelet at home? While some repairs may require professional assistance, many common bracelet issues can be resolved in the comfort of your own surroundings. Let’s begin our journey of bracelet restoration with some essential considerations.
1. Assess the Damage
The first step in fixing a bracelet is to assess the nature and extent of the damage. Examine the bracelet thoroughly, paying attention to the following key areas:
- Broken Chain Links: Broken links are often the most common problem with chains. Determine the location of the break and identify if any links are missing.
- Clasp Issues: Clasps can malfunction or become damaged, making it challenging to secure the bracelet. Check if the clasp is securely attached and operating correctly.
- Loose Stones: Bracelets with gemstones or other embellishments may experience loose stones due to wear and tear or a weakened setting.
- String Breakage: Beaded bracelets or those with fabric strings can suffer from string breakage, resulting in beads falling off or the bracelet breaking into multiple pieces.
2. Gathering Tools and Materials
Once you have identified the issue, gather the necessary tools and materials for the repair:
- Needle-Nose Pliers: These precision pliers will help you manipulate small components and tighten clasps.
- Round-Nose Pliers: These pliers are perfect for creating loops in wire or metal.
- Jewelry Glue: Choose a suitable jewelry glue for the material of your bracelet, such as epoxy for metals and cyanoacrylate for gemstones or beads.
- Tweezers: Delicate tweezers are essential for handling small parts and placing gemstones securely.
3. Bracelet Repair Techniques
Now, let’s dive into the specific techniques for fixing common bracelet issues:

Image: marissasblingonabudget.com
a) Broken Chain Links
- Determine the type of chain link: Open or closed. Open links are easier to repair, while closed links may require soldering or professional assistance.
- For open links, simply use round-nose pliers to gently squeeze the loop closed until the ends meet.
- For closed links, you may need to visit a jeweler who can solder the break professionally.
b) Clasp Issues
- If the clasp is loose, use needle-nose pliers to gently tighten the loops or spring mechanism.
- For broken clasps, assess if they can be reattached or need to be replaced. Some clasps may require soldering.
c) Loose Stones
- Carefully clean the area around the loose stone with a soft brush or cloth.
- Apply a small amount of jewelry glue to the setting using a toothpick or tweezers.
- Place the stone back into the setting and apply gentle pressure until the glue sets.
d) String Breakage
- Remove any remaining beads from the broken string.
- Thread a new string through the beads.
- Secure the ends of the string with a knot or crimp bead.
4. Preventative Care for Bracelets
Regular care and maintenance can help prolong the life of your bracelets and minimize the need for repairs:
- Proper Storage: Store bracelets in a cool, dry place, ideally in a jewelry box with individual compartments.
- Avoid Exposure: Keep bracelets away from harsh chemicals, lotions, and other products that could damage them.
- Clean Carefully: Clean bracelets gently with a soft cloth or brush, avoiding abrasive cleaners or harsh chemicals.
- Regular Inspections: Check bracelets periodically for any signs of wear or damage.
How To Fix A Bracelet
5. When to Seek Professional Help
While many bracelet repairs can be done at home, some situations warrant professional assistance:
- Complex Repairs: Repairs that require soldering, laser welding, or other specialized techniques.
- Damaged Gemstones: Repairing damaged gemstones, such as chips or cracks, requires the expertise of a jeweler.
- Sentimental Value: If the bracelet has significant sentimental value, consider entrusting it to a reputable jeweler.
By following these guidelines and techniques, you can confidently restore your bracelets to their former beauty and keep them cherished for many years to come.